Installation Guide
Shopify Section Sample
Install the Section
1. Backup the live theme
First, duplicate the theme file you are going to use. If your theme has problems after modifying the code, you can revert to using the backed up version.
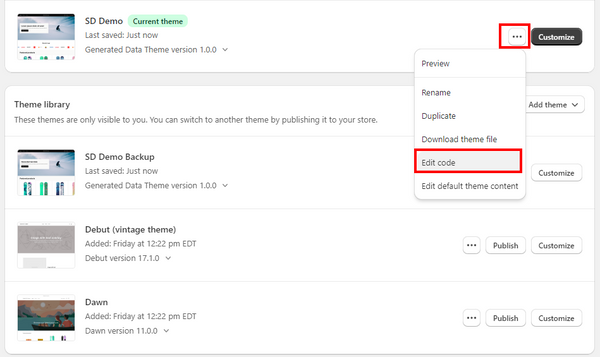
2. Edit Code
Click the “Actions ”,and select “Edit Code” in the dropdown list.
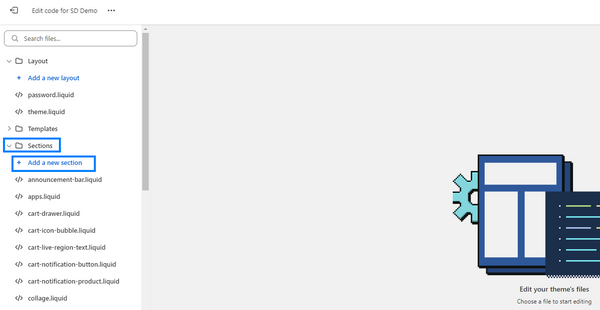
3. Add Section Code Files
Click on "Add a new section" option below the "Sections" folder.
Name the section file:
- Choose liquid for the file format.
- We recommend using lowercase letters for filenames.
- Connecting characters with “ - ”.
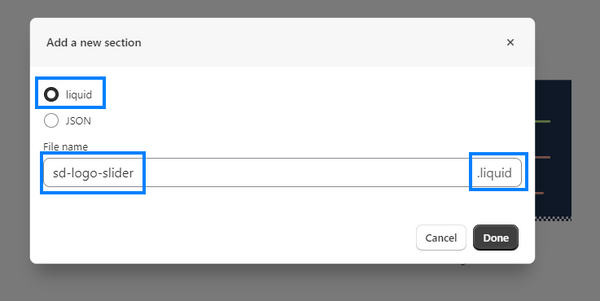
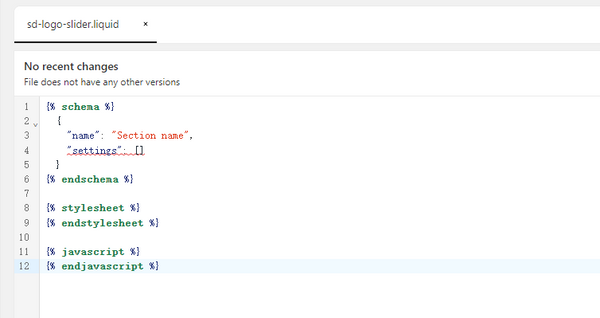
This will generate a default section file as shown below.
4. Copy & Paste Section Code
After purchase, a link to download the file will be sent to your email.
- Open the .txt file you downloaded.
- Copy (Windows:Ctrl-C, or Mac: ⌘-C) all the code.
- Past it (Windows: Ctrl-V or Mac: ⌘-V) and replace the default code inside the new section file you just created.
-
Save: Finally, click the “Save” button on the upper right corner.

Now the section was installed, you can leave the code editor page.
5. Customize with the Section
5.1 Edit theme
Now go back to the Shopify admin page.
Open: Online Store → Themes → Click the “Customize” button next to the “Actions”.
Select the newly created section.
5.2 Add Section
At this Customization page, click on "Add section" above the "footer" in left side bar.
Choose the page you want to customize and add the section to, click on the “Add section” button at the bottom of the left sidebar, above the "footer" option in this theme.
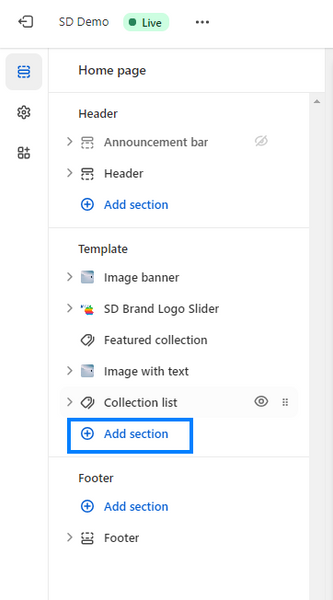
Select the section you just created in the shown list.
If you have problems with the installation, please feel free to contact us at: support@seandtc.com
- Choosing a selection results in a full page refresh.


